
How To Waterproof Boots In 8 Simple Steps
We all have a favorite pair of shoes, and in the wintertime most of us have a pair of “go-to” boots that are particularly reliable. However, sometimes our favorite shoes are not the right shoes for the weather. In that case, waterproofing can give your shoes the durability and flexibility of wear you need to put them on in any weather. If you need to learn how to waterproof boots to make sure your best foot is always forward, then you are in the right place. There are many options for waterproofing your boots. You just have to determine which method is right for you.
Different Methods Of Waterproofing Boots
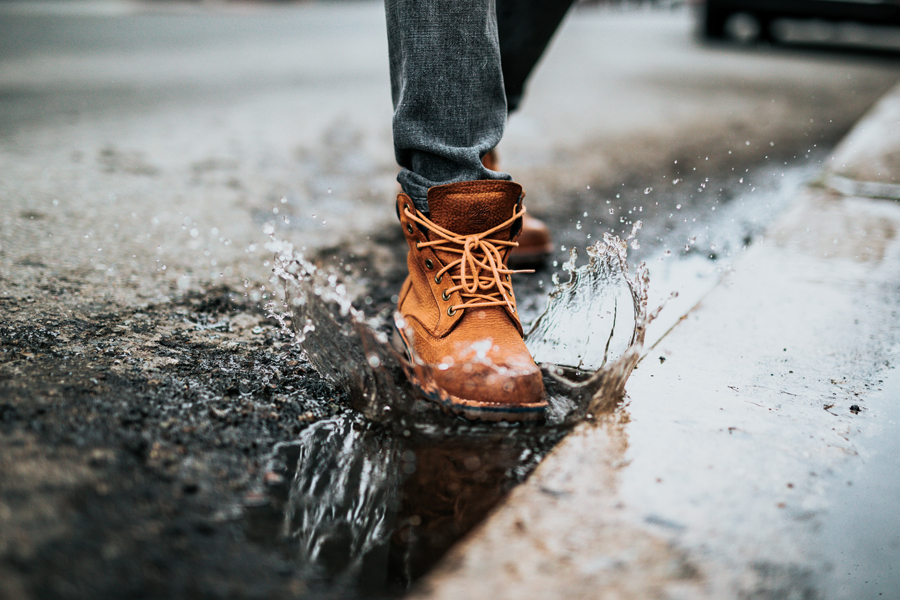
Image Source: Unsplash
The best way to identify how to waterproof boots in your wardrobe is to first consider the materials from which your footwear is made. This will play a big role in your waterproofing method. Take a few minutes to evaluate the footwear you wish to waterproof. You will find that learning how to waterproof boots is far simpler than you expected as long as you pay attention to the details.
Wax Waterproofing
Want to know how to waterproof boots with wax? You will need to be prepared with the right type of wax to get the best results. You can use beeswax or a colorless candle to waterproof your boots. These materials can be found in most hardware stores. If you cannot find a candle or beeswax, odorless paraffin candles, like tealights or votives, will also do the trick. Wax waterproofing will work on shoes of nearly every type from canvas to leather, although certain types of footwear will take to the process better than others.
If your boots are made of a porous material, learning how to waterproof boots with wax may render them water resistant, but you might not get the fully waterproof effect you are hoping for.
One thing you will find as you explore how to waterproof boots with wax is that not every surface works as well for this method as every other. Textiles actually work well with wax waterproofing, but smoother surfaces will require more maintenance to keep that wax coating intact.
Spray Waterproofing
For smoother surfaces like leather, pleather, or plastic, consider using a waterproofing spray as you explore your options for how to waterproof boots. There are many different
types of waterproofing spray that offer benefits including:
You can find waterproofing sprays in most shoe stores and outdoor stores. If you plan to get your boots wet regularly, especially if you expect to have them partially submerged for any length of time, then a waterproofing spray will help keep your boots and your feet dry when you are in a wet environment.
As you spray your boots, make sure to hit every single angle on the boot and remember that textured materials, like suede, may require more than one coat to really get the full waterproofing effect. Sometimes, repetition is part of learning how to waterproof boots, so be ready to perform some steps in this process more than once!
Alternative Waterproofing Methods
If you are in a pinch and need to know how to waterproof boots fast with items you may already have on hand, then consider using a few of these common household materials to keep your boots and your feet dry. These methods are, of course, only temporary. They will keep your feet dry if you are desperate, but they will wear off and are not necessarily great for the condition of your footwear.
You might use:
Benefits of Waterproofing Your Footwear
Image Source: Unsplash
If you are wondering whether learning how to waterproof boots is absolutely necessary, the answer is, “sometimes.” If you just want to waterproof a pair of boots so that you can wear them out when it is raining, then you can certainly opt to try to protect your boots from moisture by avoiding puddles or not wearing them during inclement weather.
However, if you are dealing with work boots or hiking boots, the benefits to waterproofing your footwear are many and varied:
Also, if you just have a pair of boots you always want to have the option of wearing, learning how to waterproof boots is the best way to make sure that your wardrobe choices are never compromised by the weather!
How to Waterproof Boots in 8 Simple Steps
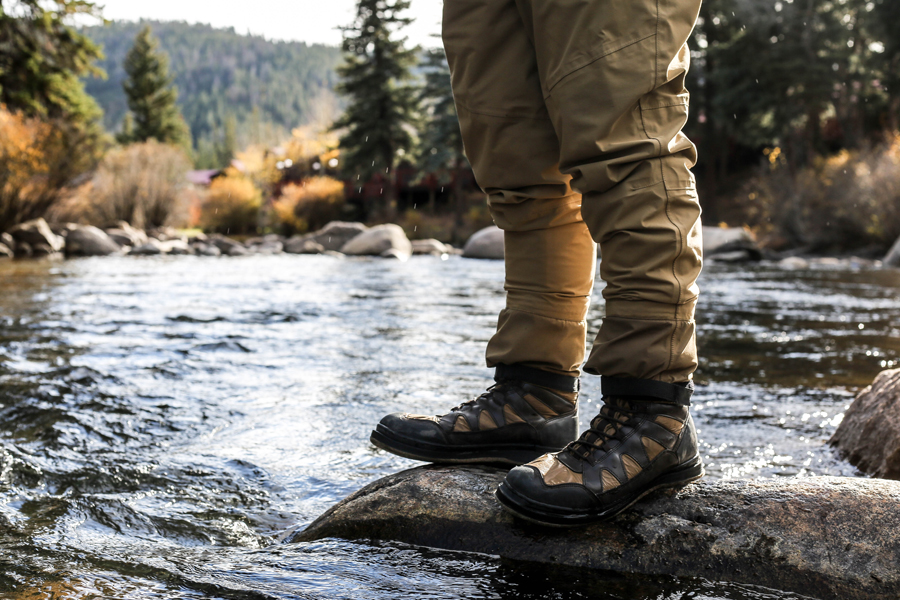
Image Source: Unsplash
Waterproofing boots is a multi-step process, but fortunately, it is not a complicated one. Just follow these 8 simple steps to learn how to waterproof boots.
Step 1:
Examine the Material of Your Boots
Take a look at what your boots are made of. They may be canvas, leather, nubuck, suede, or some combination of materials. Some boots even have portions that are already plastic or rubber and may be inherently more waterproof than others.
Step 2:
Decide which Waterproofing Technique to Use
If you are waterproofing boots with a lot of porous materials, such as a pair made with canvas, then waxing will probably be the best route for you. On the other hand, if you are dealing with leather, a waterproofing spray will work best. You also need to consider what the waterproofing method will do to the look of the boots. For example, suede might benefit from an application of wax in terms of improving how waterproof it is, but the process will ruin the look of the material.
Step 3:
Clean Your Boots
Your boots should be clean and dry before you start waterproofing them. This means you should wipe them down with a damp cloth if they are a smooth material, like leather, and brush the dirt and grime out of them if they are a nubby material like suede. Canvas shoes may actually go through the washing machine and dryer if you like. You must get all dirt and grime off the surface of the boots because otherwise, you will seal it in when you apply the waterproofing.
Step 4:
Test the Waterproofing Technique
Before you just start waterproofing your boots, make sure that the process is not going to ruin them. Test the wax or the spray on an inconspicuous part of the boot to see what it does to the look and feel of the material. This will help you make sure that you do not accidentally dye your boots, for example. If you are using alternative methods because you have no other options, you probably should accept that they are going to alter the look of your boots.
Step 5:
Waterproof Your Boots
Once your boots are clean and dry, it is time to waterproof them. If you are using wax to waterproof, then rub the wax into the material of the boots. If the boots have a smooth surface, rub particularly hard and go over every area several times to make sure enough wax adheres to the surface. Boots with porous materials will be easier to wax, but you still need to pay close attention to make sure you are getting the wax all over the outside of the boot.
Any spot you miss will be likely to leak. When using wax, you have the advantage that even colorless wax will leave a visible trace where you have applied it, although this will disappear in the next step.
If you are using a waterproofing spray, spray every angle of your boots. Just as with the wax application, when spraying your boots you must not miss an inch, or you leave that inch susceptible to leakage and water damage. Follow the directions on the spray in terms of how far away you hold the nozzle from the boot. In most cases, this will mean it should be between six and eight inches from the surface of your boots.
You may want to hang the boot to make sure you can get every angle and consider working outside to avoid breathing too much of the spray. You probably will want to work outside if possible. If you are spraying suede or nubuck, you will need two or more coats to fully waterproof your boots.
Step 6:
Conduct Any Finishing Steps
Once you have applied the waterproofing materials to your boots, you will need to finish off the process in order to really seal your boots tightly. If you are waxing your boots, use a hair dryer to heat the wax. As you do so, you will see the wax fade into the shoe, forming a clear, smooth seal. Wave the hair dryer over each shoe, carefully melting the wax until it is all completely invisible. Once it hardens, you will have a clear, protective layer of waterproof wax.
If you are using waterproofing spray, you will need to wipe off any excess spray once you are done. Use a microfiber towel and try to not to get any spray on your hands. Most sprays do not dry fast enough to allow for immediate use, so plan to wait at least 24 hours before wearing your newly waterproofed footwear. Do not use a heat source to try to expedite the drying process. It will just create a fire hazard and may even interfere with the chemical bonding of the spray with your footwear.
Step 7:
Test Your Waterproofing
Before you start jumping in puddles, test your waterproofing technique. Pour a little water over the toes of your newly waterproofed boots. If the waterproofing worked, the water should bead up and roll off instead of soaking into the material.
Step 8:
Break in Your Waterproof Boots and Enjoy
Waterproofing may cause your boots to feel a little stiff at first, so wear them a lot to help break them in. This will be more of an issue with waxing than with spraying. As you walk around in your boots, flex your foot in all directions to relax the material again and soon you will find your boots are as comfortable as they ever were.
Wear and Enjoy Your Waterproof Boots
Now that your boots are waterproof and broken in, it is time to enjoy them! Whether you are planning to go hiking or just wear your boots in a rainstorm and not worry about water damage, learning how to waterproof boots will serve you well repeatedly. Just remember, most waterproofing wears off. If you wash your boots, you will need to waterproof them again. Also, if they get extremely wet, you will probably need to repeat the waterproofing process to keep them in top water-resistant condition.
Featured Image Source: Unsplash